
Tips For Taking Effective Screenshots
When posting issues or questions in the community forums, or submitting workshops, it’s important that you effectively capture exactly what you want to show on your screen.
Here’s a simple guide to taking great screenshots:
First, you want to setup your screen to be captured. Take a short moment to make sure nothing is out of place, or displaying on your screen that you don’t want to be captured (login info, for example).
Next, you want to open up a tool to take screenshots with. In your search bar, you should be able to find either: ‘Snipping Tool’, or ‘Snip & Sketch’ (depending on the version of windows you’re running).
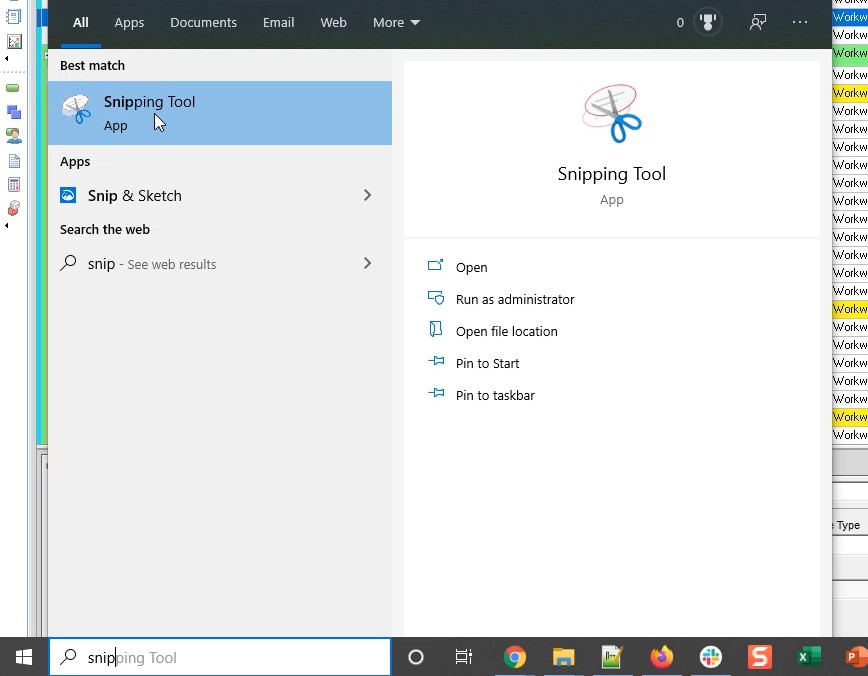
Taking a screenshot with ‘Snipping Tool’:
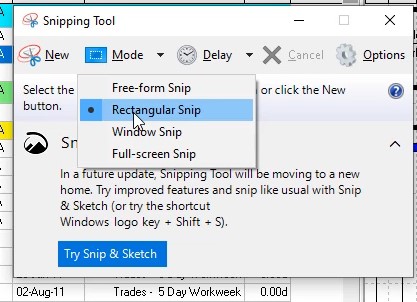
- Upon opening, just make sure the ‘mode’ is set to “Rectangular Snip”.
- Click ‘New’.
- Drag your cursor to select what you want captured in your screenshot.
- Once you’ve selected it, you will have a few options with which to edit it.
- If you’re happy with it, click the “Copy” button on the top bar and then, you can just “Paste” it into a word document, email, community forum
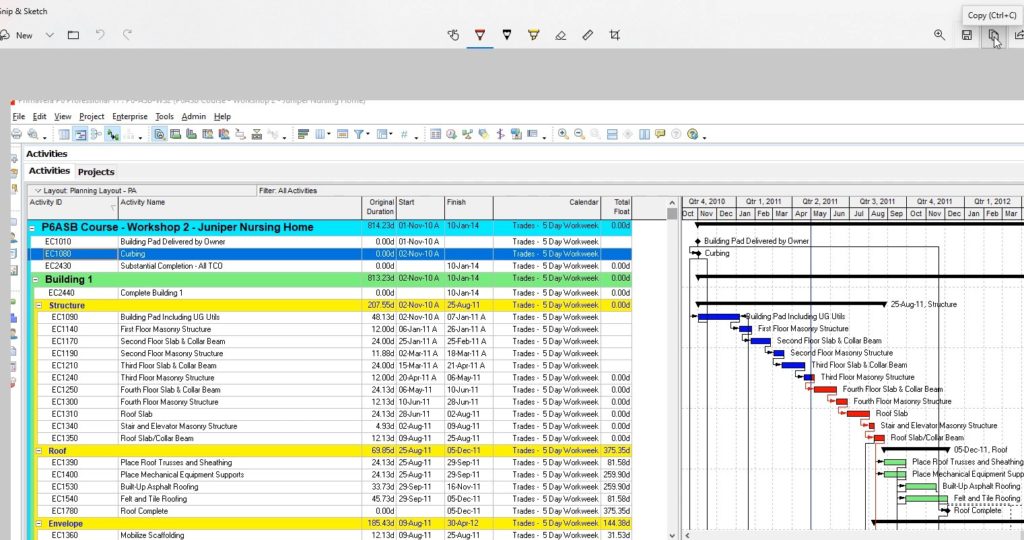
Taking a screenshot with ‘Snip & Sketch’:
Very similar to the steps above. Just click ‘New’, and highlight the area you want to screenshot.
The “Copy” button is found in the top-right corner of the tool.
Some things to note:
Your screen resolution may affect how much you are able to capture effectively in your screenshot. If you are having trouble, you can try adjusting your screen, and setting it to a higher resolution. This will make everything on screen look smaller (allowing you to capture more area).
Or, you can also take several screenshots, scrolling and adjusting your screen to capture everything.
If you’re still having trouble, or have any other questions, just email us at info@planacademy.com and we’ll be happy to help.